Synonym : Ferrite Meter, Ferritscope, Ferrite Content Meter, Feritscope, Ferrit Scope, Ferrite Content Measurement, Ferrite Content Meter
Measurement of the Ferrite Content in Austenitic and Duplex Steel made easy…….
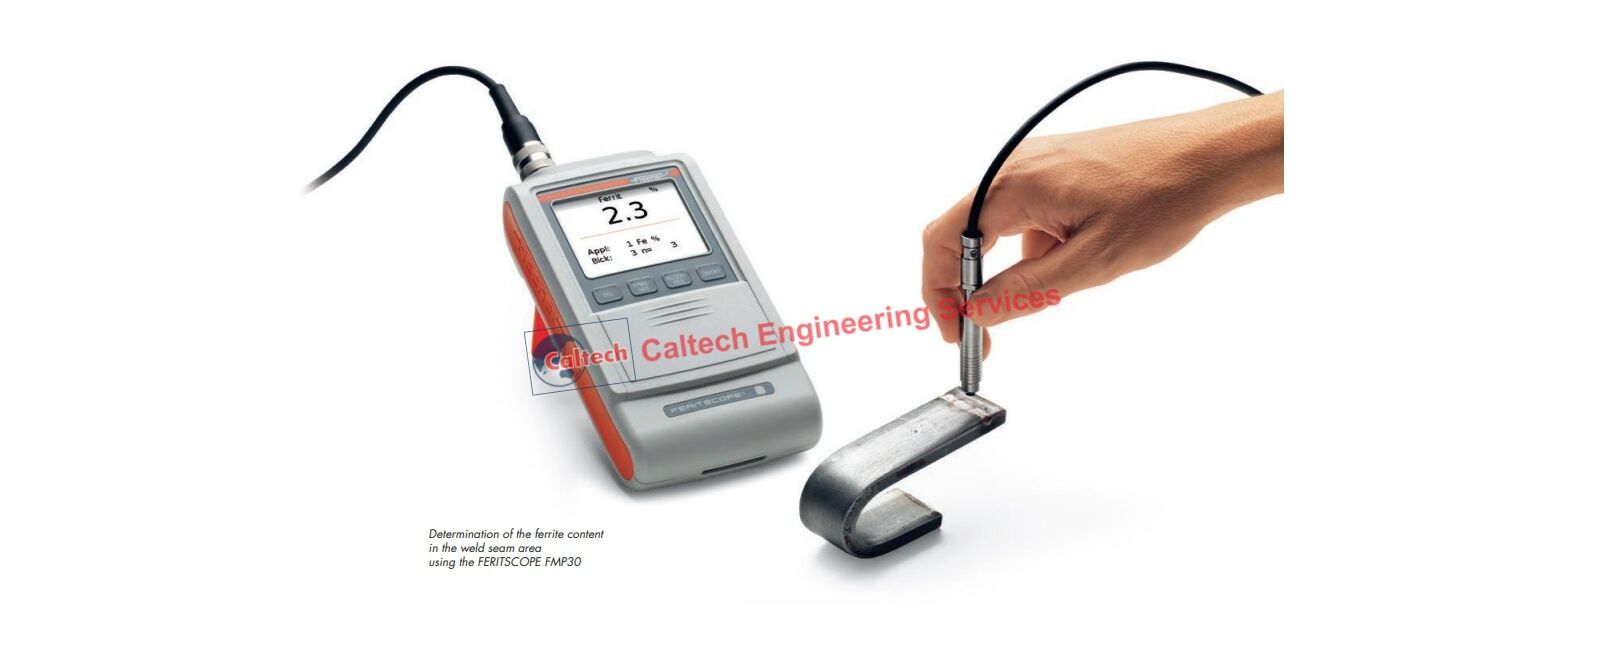
Caltech India offers best FERITSCOPE FMP30, which measures the ferrite content or ferrite number in austenitic and duplex steel according to the magnetic induction method. All magnetizable structure sections are measured i. e., in addition to delta-ferrite also strain-induced martensite, for example, or other ferritic phases.
Ferrite Meter which is also called as Ferritescope. It is suited for measurements according to the Basler-Standard and according to DIN EN ISO 17655. Areas of application are onsite measurements, e. g. of austenitic platings as well as weld seams in stainless steel pipes, containers, boilers or other products made of austenitic or duplex steel.
Duplex steel is used increasingly in the chemical and petrochemical industries, e. g., for boilers and pipelines. A ferrite deficit in the weld seam area leads to strength reduction, an excess ferrite content to a reduction in toughness and ductility.
In particular when welding duplex steel, the ferrite content in the welding area can easily assume unfavor-able values either due to unsuitable welding filler materials or through poor heat input or heat removal. Only an onsite measurement can provide the assur-ance that the processing did not change the opti-mum ferrite content in an unfavorable manner at the expense of mechanical or corrosion-resistance properties.
Simple and Quick Measurement:
It is easy to measure the ferrite content accurately when using the Ferritescope FMP30. Upon probe placement on the surface of the specimen, the reading is displayed automatically and stored in the instrument. The probe can also be placed onto hard to reach areas. For such applications, the instrument features an “external start” function to trigger the measurements with the push of a button. This is ideal for measurements in pipes, bore holes or grooves.
Finding weld seams in polished surfaces is made easy through the “continuous display” instrument function. When scanning the surface with the probe with this function enabled, the continuous readings are displayed only. A change in the ferrite content reading indicates that the weld seam has been found.
For easy ferrite content measurements along a weld seam, the instrument offers the “continuous measurement capture” function. When scanning the weld seam with the probe positioned, the continuous readings are captured and stored. This provides a ferrite content profile along the weld seam.
Measurement influencing factors do not significantly affect the FERITSCOPE FMP30. Ferrite content measurements can be carried out regardless of the sub-strate material properties starting at a plating thick-ness of 3 mm.
Corrective calibrations with customer-specific calibration standards or correction factors (included) can be used to take influences of the specimen shape (strong curvature), plating and substrate thicknesses into account. The calibration is always stored measurement-application specific in the respective application memory.
Magnetic Induction Method:
The FERITSCOPE FMP30 measures according to the magnetic induction method. A magnetic field generated by a coil begins to interact with the magnetic portions of the specimen. The changes in the magnetic field induce a voltage proportional to the ferrite content in a second coil. This voltage is then evaluated.
Ferrite Meter measurement is non destructive test equipment and highly popular. All magnetic portions in the otherwise non-magnetic structure are measured, i. e., in addition to delta ferrite and other ferritic portions also strain-induced martensite, for example. A specific advantage of the magnetic induction method for measuring the ferrite content is that a sigma phase, i. e., a Fe-Cr precipitation, which has formed due to excess ferrite content and unfavorable cooling conditions, for example, is recognized correctly as a non-ferritic structural component. In comparison, erroneous interpretation of ferrite content is likely in a metallographic section where a sigma phase is not easily distinguished from a ferritic structure.
Ferritescope are very durable and portable. Our ferrite content meter offers full non-destructive measurement of many kinds of metal. Our ferrite testing equipments can detect ferrite in piping materials, welded cladding, and austenitic and duplex stainless steels. We offer the ferrite content meter to meet your needs.
For further details of Ferritescope, send us email or contact us.
In India, we have various customers from Mumbai, Delhi, Bangalore, Chennai, Hyderabad, Ahmedabad, Kolkata, Surat, Pune, Jaipur, Lucknow, Kanpur, Nagpur, Visakhapatnam, Indore, Bhopal, Patna, Vadodara, Ghaziabad, Ludhiana, Coimbatore, Madurai, Nashik, Srinagar, Aurangabad, Dhanbad, Allahabad and Ranchi in India.
We also export our range of products to worldwide countries like USA, Canada, Chile, United Kingdom – UK, Spain, Germany, Italy, Dubai, Abu Dhabi, U.A.E, Oman, Saudi Arabia, Singapore, Kuwait, Iran, Indonesia, Thailand, and many more as well.
